DIY Kinetic Sand: How to Make Your Own at Home
- Ryan Jones
- Jun 12, 2024
- 2 min read
Kinetic sand is a popular sensory play material that’s soft, moldable, and endlessly entertaining. If you’re wondering how to make your own at home, we’ve got you covered! With just a few simple ingredients, you can create DIY kinetic sand that’s perfect for crafting, stress relief, or fun with kids. Best of all, it’s easy to customize with colors and glitter!

What is Kinetic Sand?
Kinetic sand is a special kind of sand that feels like wet beach sand but doesn’t dry out. It’s known for its unique ability to hold its shape while being soft and stretchy. Whether you want a creative activity for kids or a therapeutic tool for stress relief, kinetic sand is a versatile and enjoyable option.
DIY Kinetic Sand Recipe
Ingredients You’ll Need:
1 cup of fine sand (available at craft stores or online).
1/2 cup of cornstarch (for binding the sand together).
1/4 cup of water (to achieve the perfect texture).
1 teaspoon of dish soap (for pliability and smoothness).
Optional: Food coloring or glitter to personalize your kinetic sand.
Step-by-Step Instructions
Step 1: Mix the Dry Ingredients
In a large mixing bowl, combine the sand and cornstarch. Stir until the two ingredients are thoroughly blended.
Step 2: Prepare the Liquid Mixture
In a small separate bowl, mix the water and dish soap. If you’d like to add some fun colors to your kinetic sand, stir in a few drops of food coloring. You can also add glitter for some sparkle.
Step 3: Combine Wet and Dry Ingredients
Gradually pour the liquid mixture into the sand and cornstarch blend. Stir as you go to ensure everything is evenly mixed. Add a little liquid at a time to avoid making the sand too wet.
Step 4: Knead the Mixture
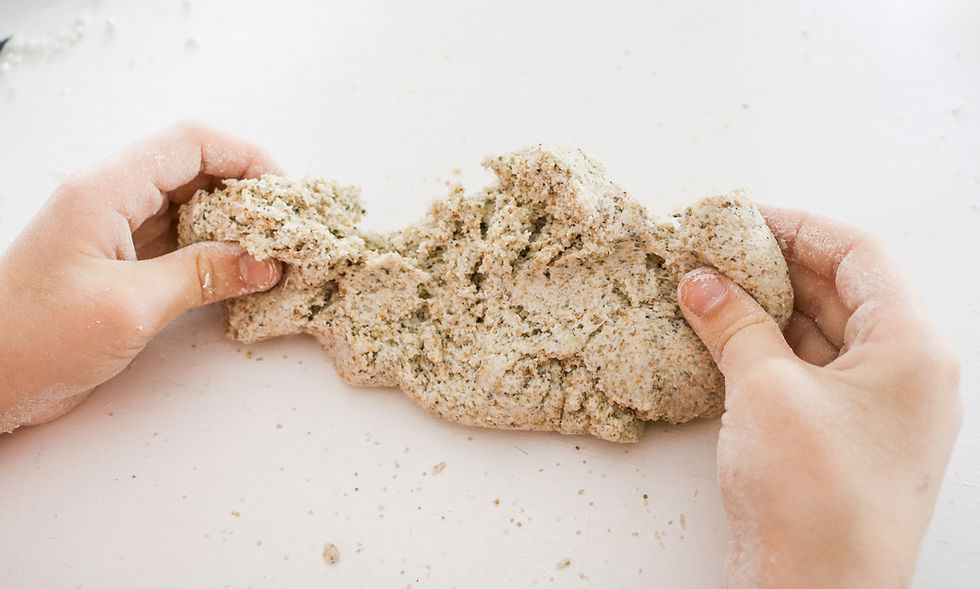
Use your hands to knead the sand mixture until it feels soft and moldable. If it’s too sticky, add a little more sand. If it’s too dry, add a tiny bit of water.
Step 5: Play and Store
Your DIY kinetic sand is now ready for play! Use it to build, shape, and explore. When you’re done, store it in an airtight container to keep it fresh and prevent drying out.
Tips for Making the Best DIY Kinetic Sand
Use Fine Sand: Fine, clean sand will give you the best texture. Look for craft or play sand for a smoother feel.
Adjust Consistency: If the sand is crumbly, add more water. If it’s too sticky, sprinkle in more sand or cornstarch.
Add Fun Elements: Glitter and food coloring make it easy to customize your sand for a personalized touch.
Comments